Starter tutorial
Build a temperature converter app
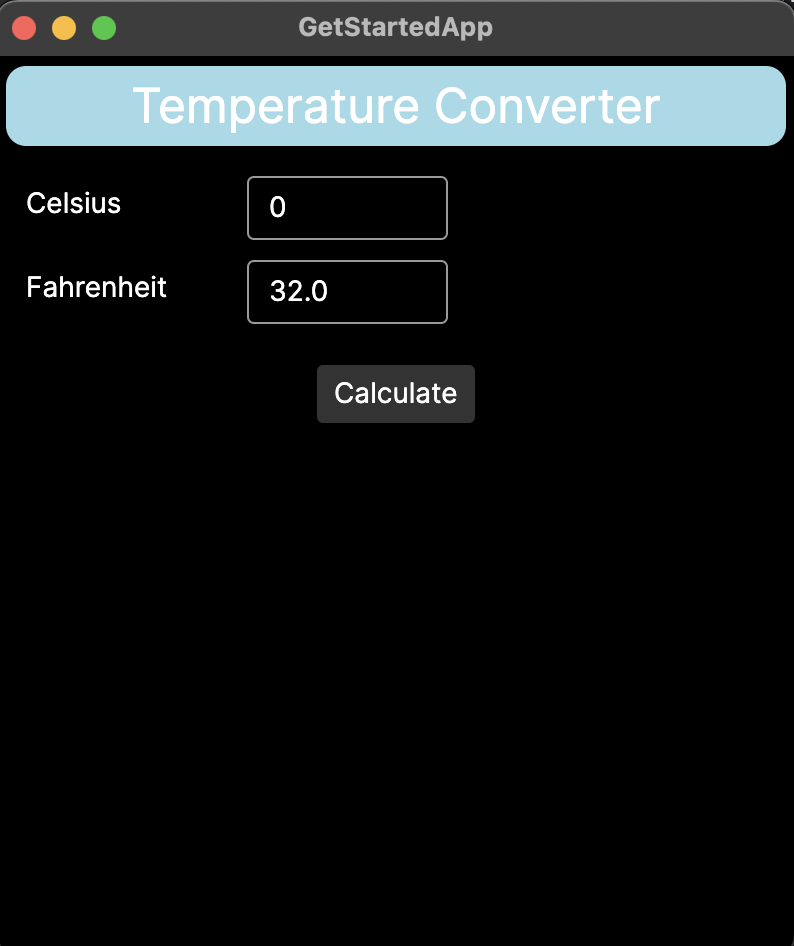
Now that you have installed Avalonia, set up your IDE, and created your first project, you can explore some basic concepts and functionalities in Avalonia. You will do that by turning the default Avalonia template into a temperature converter app.
Follow through this tutorial to create the app. As you do so, you will learn about:
Add a button to the app and position it in the window.
Use layout controls to arrange multiple controls on screen.
Adjust the window size, title, and other attributes.
Create an event handler to respond to button clicks.
Use code-behind to convert a temperature value when the button is clicked.
Test your understanding of Avalonia with three coding exercises.
.axaml
Notice the files in your project directory ending .axaml? That’s short for Avalonia XAML, a file extension unique to Avalonia that differentiates Avalonia files from standard XAML files.
Check your live XAML previewer works
If you have newly installed Avalonia in Visual Studio or JetBrains Rider, and you are new to IDE development in general, this may be a good time to check you can use the live XAML previewer.
See the page on XAML live preview for how to enable the previewer.
Open the main window file
In the Views folder of your project directory, open the file MainWindow.axaml. You will mainly be working on this file throughout this tutorial.

Nearly everything in MainWindow.axaml goes between the <Window>...</Window> XAML tag. This tag represents the Avalonia window, where your app will run on the target platform. You will look at Avalonia windows in more detail later, when we get to customizing the Avalonia window.
Proceed to the next page of this tutorial to learn how to add a button to the app.