Customizing the Avalonia window
As mentioned earlier, the Avalonia window is where your app will run on the target platform. In a .axaml file, the <Window>...</Window> tag defines what goes in the window.
Layout zones
Avalonia windows have four layout zones: (1) Margin, (2) Border, (3) Padding, and (4) Content.
Some layout controls, like StackPanel which you used earlier, create smaller sub-windows with the same four layout zones.
Each Avalonia window only accepts one control in its content zone.
Default window attributes
Like controls, windows in Avalonia have XML attributes that define their presentation and behavior.
Scroll to the top of the file MainWindow.axaml and examine the <Window> opening tag. You can see that it contains some default settings.
<Window xmlns="https://github.com/avaloniaui"
        xmlns:x="http://schemas.microsoft.com/winfx/2006/xaml"
        xmlns:vm="using:GetStartedApp.ViewModels"
        xmlns:d="http://schemas.microsoft.com/expression/blend/2008"
        xmlns:mc="http://schemas.openxmlformats.org/markup-compatibility/2006"
        mc:Ignorable="d" d:DesignWidth="800" d:DesignHeight="450"
        x:Class="GetStartedApp.Views.MainWindow"
        x:DataType="vm:MainWindowViewModel"
        Icon="/Assets/avalonia-logo.ico"
        Title="GetStartedApp">
The first few lines of the <Window> tag declare the XML namespaces used by Avalonia. The namespace aliases used are x, vm, d, and mc.
Setting the window's attributes
Let’s try adjusting the window’s dimensions so that it appears to be in portrait orientation, instead of landscape. This is something you may do when developing an app, to check how it looks on a mobile device.
Setting the previewer size
Adjusting the values in d:DesignWidth and d:DesignHeight allows you to change the dimensions of the app in the live previewer, without affecting the actual dimensions of the window at runtime.
- In the file MainWindow.axaml, locate this line within the
<Window>...</Window>tag:
mc:Ignorable="d" d:DesignWidth="800" d:DesignHeight="450"
- Set
d:DesignWidthto 400. - Observe the previewer. You should see that the preview now resembles a mobile display.
For more information, see the page on previewing your UI design.
Setting the runtime window size
To adjust to dimensions of the runtime app window, you need to add Width and Height attributes to the <Window> opening tag.
- In the file MainWindow.axaml, go to the bottom line of the
<Window>opening tag:
Title="GetStartedApp">
- Add the attributes
Width="400"andHeight="450"under that line. Remember to move the angle bracket to the end.
Title="GetStartedApp"
Width="400"
Height="450">
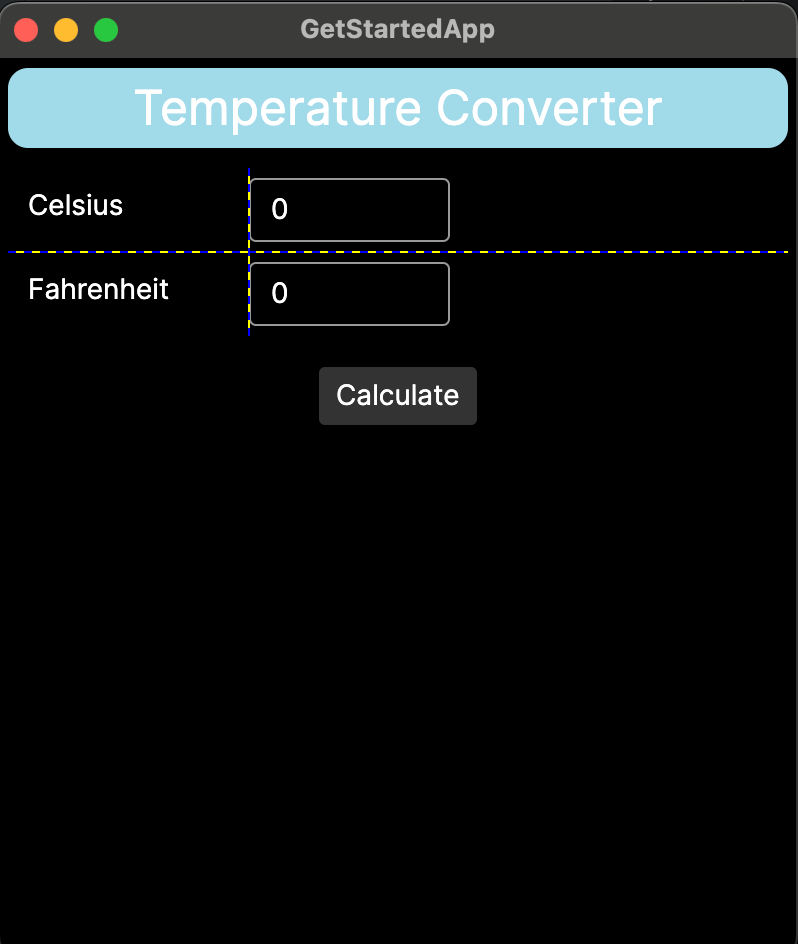
- Run the app. You should see that the app window now resembles a mobile display.
Most mobile platforms actually ignore window sizes and automatically resize windows to fit the screen. When developing, you won’t literally need to set a separate size for each target platform.
On the next page of this tutorial, you will learn how to create event handling so that the button responds to clicks.