Adding a control
The first step for your temperature converter app is to add a control. In Avalonia, a control is any UI element that your users can see or interact with. Buttons, sliders, checkboxes, text boxes, and menus are all examples of controls. Each control is represented by an XML element in your AXAML markup, making it straightforward to add, remove, or rearrange the elements of your user interface.
For a complete list of the built-in controls, see the Controls reference page.
Insert a button
Start by replacing the default text in the app with a Button control.
- Stop the app if it is still running.
- In the file MainWindow.axaml, locate this line:
<TextBlock Text="{Binding Greeting}" HorizontalAlignment="Center" VerticalAlignment="Center"/>
- Replace the entire line with the following
Buttonelement:
<Button>Calculate</Button>
The text between the opening and closing <Button> tags becomes the button's visible label. In this case, the button displays the word "Calculate."
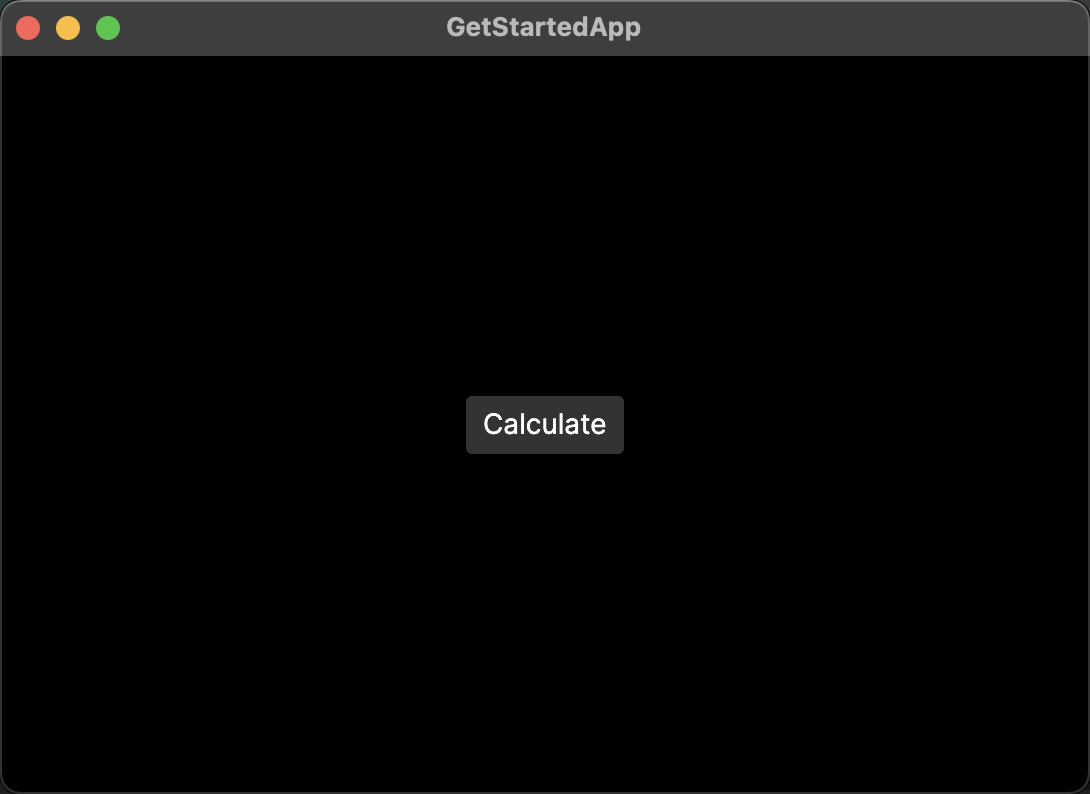
- Run the app or check the previewer. You should now see a Calculate button in the app window.
- Try hovering over or clicking the button to see how its appearance changes. Avalonia's default theme provides built-in visual states for hover, press, and focus, so your button responds to user interaction without any extra code.

Set the button's attributes
Controls in Avalonia use XML attributes to configure their presentation and behavior. You can think of attributes as settings that you apply directly in the AXAML markup to control things like size, position, color, and more.
Your Calculate button is currently aligned against the left edge of the window. This is because the default value of the HorizontalAlignment attribute is Left. To center the button, you need to set this attribute explicitly.
- In MainWindow.axaml, find the line you added for the button:
<Button>Calculate</Button>
- Add the
HorizontalAlignmentattribute to the<Button>tag and set it toCenter:
<Button HorizontalAlignment="Center">Calculate</Button>
- Run the app or check the previewer. You should see the Calculate button move to the center of the window.
You can also set VerticalAlignment to control where a control sits along the vertical axis. Try setting VerticalAlignment="Center" on your button to see the effect.
What you have learned
In this section, you:
- Added a
Buttoncontrol to your window by writing AXAML markup. - Set the button's content (its label text) between opening and closing tags.
- Used the
HorizontalAlignmentattribute to change the button's position.
On the next page, you will learn how to add multiple elements to your app using layout controls.
See also
- Button reference
- Controls overview
- Adding some layout (next step in this tutorial)