Create your first project
Create and run your first Avalonia application using the MVVM template in your preferred IDE or from the command line.
This guide walks you through creating a new Avalonia app from a template and running it. By the end, you will have a working Avalonia window on screen.
Create the project
For your first project, use the Model-View-ViewModel (MVVM) template. This template sets up a project with the MVVM pattern, which is the recommended way to structure Avalonia applications.
- Visual Studio
- Visual Studio Code
- Rider
- Command line
- In Visual Studio, click File → New → Project/Solution.
- In the search box, input "Avalonia".
- Select Avalonia .NET MVVM App from the search results. If Visual Studio offers multiple options, select the one for C#. Then, click Next.
- Name your project "GetStartedApp".
- Change the target directory if desired. Then, click Next.
- Select your preferred version of .NET as the framework.
- If given the option to choose target platforms, select Desktop.
- Click Create.
- In Visual Studio Code, bring up the command palette. This is Ctrl + Shift + P on Windows, or ⌘ + Shift + P on macOS.
- Input ".NET" into the search.
- From the search results, select .NET: New Project...
- From the list of project templates, select Avalonia MVVM App.
- Specify a directory on your device for the project.
- Name your project "GetStartedApp".
- Click Create project.
- On the Rider startup screen, select New Solution.
- In the sidebar, scroll down to "Custom Templates". Select Avalonia .NET MVVM App.
- Name your solution "GetStartedApp".
- Click Create.
Run this command:
dotnet new avalonia.mvvm -o GetStartedApp
Check your device for a new folder named GetStartedApp, containing the new project files.
Run the project
- Visual Studio
- Visual Studio Code
- Rider
- Command line
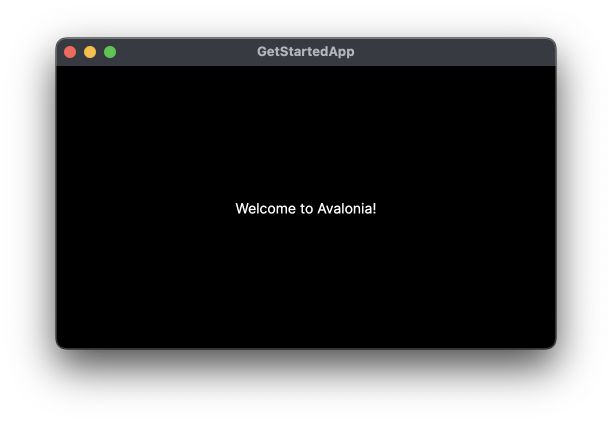
In the top toolbar, select "GetStartedApp" next to the Run button. Then, click Run.
The solution builds and runs your app in a new window. By default, this displays the string, "Welcome to Avalonia!"
- Select Run and Debug in the side navigation bar.
- If prompted to select a debugger, choose C#.
- Click Run and Debug.
The solution builds and runs your app in a new window. By default, this displays the string, "Welcome to Avalonia!"
Click Run in the top toolbar.
The solution builds and runs your app in a new window. By default, this displays the string, "Welcome to Avalonia!"
Navigate to the directory containing your GetStartedApp project and run:
dotnet run
The solution builds and runs your app in a new window. By default, this displays the string, "Welcome to Avalonia!"
What's in the project?
The MVVM template creates a project with the following structure:
| File/Folder | Purpose |
|---|---|
| App.axaml | Application-level resources and styles. The .axaml extension is short for Avalonia XAML. |
| ViewModels/ | Contains MainWindowViewModel, which holds data and logic for the main window. |
| Views/MainWindow.axaml | The XAML markup that defines the main window's appearance. |
| Views/MainWindow.axaml.cs | The code-behind file for the main window. |
| Program.cs | The application entry point that configures and launches Avalonia. |
Next steps
You have a working Avalonia app. Continue with the starter tutorial to build a temperature converter and learn core Avalonia concepts: