Installing the Avalonia Plus developer tools
In this tutorial, you install the Avalonia Plus Developer Tools, add the diagnostics support package to your project, and verify the connection between your app and the tool.
Prerequisites
Developer Tools requirements
| Requirement | Version/Details |
|---|---|
| .NET Runtime | 6.0 or newer |
| Windows | 10 or newer |
| macOS | 13 or newer |
| Linux | X11 and glibc 2.27 or musl 1.2.2 compatible distros |
No admin/sudo permissions are required to run the tool. A firewall exception might need to be configured, if you plan to use Developer Tools remotely.
Diagnostics Support requirements
Support package requires Avalonia 11.2.0 or newer, and .NET Standard 2.0 compatible APIs.
This package is compatible with Browser and Android/iOS projects.
Step 1: Installing Avalonia Developer Tools
Avalonia Developer Tools are a native .NET tool, with update mechanism provided by the SDK.
This guide demonstrates global installation of the tool. But local installation is possible with a limitation: this tool will only work from the same working directory or descendant as the tool installation solution/project.
- .NET 10+
- .NET 8/9
dotnet tool install --global AvaloniaUI.DeveloperTools
If you are upgrading your app from .NET 8/9, you should first uninstall it with dotnet tool uninstall --global AvaloniaUI.DeveloperTools or avdt uninstall.
Developer Tools can be then updated by running the dotnet tool update command.
dotnet tool update --global AvaloniaUI.DeveloperTools
If you're using .NET SDK older than 10, you must install a specific package depending on the running platform.
Installation commands
Windows:
dotnet tool install --global AvaloniaUI.DeveloperTools.Windows
macOS:
dotnet tool install --global AvaloniaUI.DeveloperTools.macOS
Linux:
dotnet tool install --global AvaloniaUI.DeveloperTools.Linux
Developer Tools can be then updated by running dotnet tool update command.
Update commands
Windows:
dotnet tool update --global AvaloniaUI.DeveloperTools.Windows
macOS:
dotnet tool update --global AvaloniaUI.DeveloperTools.macOS
Linux:
dotnet tool update --global AvaloniaUI.DeveloperTools.Linux
On macOS or Linux, the installation location may not be automatically added to the PATH environment variable. This surfaces as a "command not found" error when trying to run avdt.
To resolve this issue, you must append the tool location to the PATH environment variable. The default location is usually $HOME/.dotnet/tools.
For more information, see Troubleshooting .NET tool usage issues.
Step 2: Installing Diagnostics Support package
The DiagnosticsSupport package is responsible for establishing a connection bridge between the user app and Developer Tools process.
This package can be installed either in the executable project with your Program AppBuilder or shared project with your Application, depending on your application's architecture.
In both cases, command is the same:
dotnet add package AvaloniaUI.DiagnosticsSupport
Old package Avalonia.Diagnostics can be safely removed. It's not used by the new Developer Tools.
Step 3: Configuring your project
Once the DiagnosticsSupport package is installed, you need to enable it in your Application class:
public override void Initialize()
{
    AvaloniaXamlLoader.Load(this);

#if DEBUG
    this.AttachDeveloperTools();
#endif
}
Alternatively, it's possible to use .WithDeveloperTools() extension method on your AppBuilder.
These methods also accept DeveloperToolsOptions options class, allowing you to customize DiagnosticsSupport setup. See the DeveloperToolsOptions reference for details.
By default, the connection uses port 29414. It is configurable via options.
Step 4: Running the tool
When your target app is running, press F12 to initialize connection.
DiagnosticsSupport automatically runs the Developer Tools executable and initiate connection between processes.
Initial execution on macOS might be slower due to Gatekeeper validation. Subsequent launches will be faster.
Step 5: Activating the tool
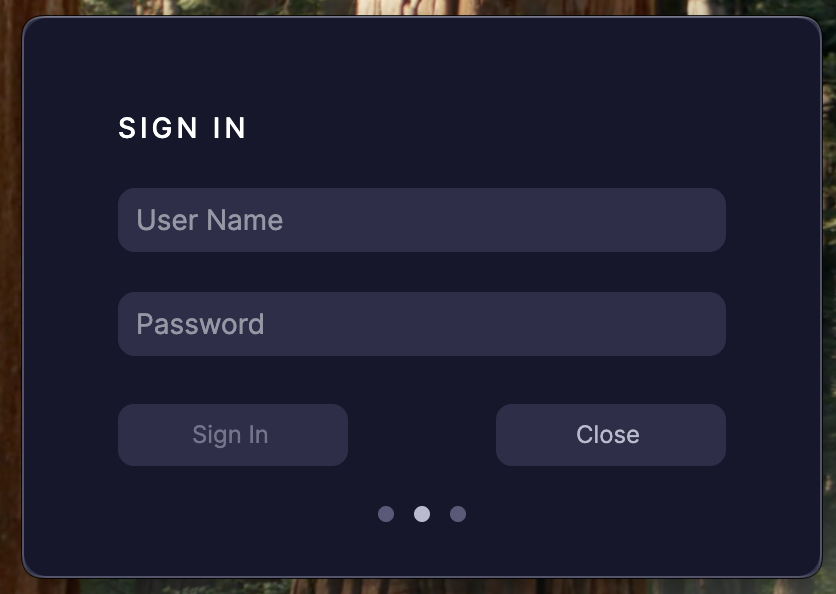
Once the Developer Tools has opened, you are asked to input your Avalonia account credentials that were used to license the tool. This is the only time when the tool requires an internet connection. After that, the tool can be used offline or until the license key session expires.