自定义 Avalonia 窗口
如前面提到,Avalonia 窗口是您的应用程序在目标平台上运行的地方。在 .axaml 文件中,<Window>...</Window> 标签定义了窗口中的内容。
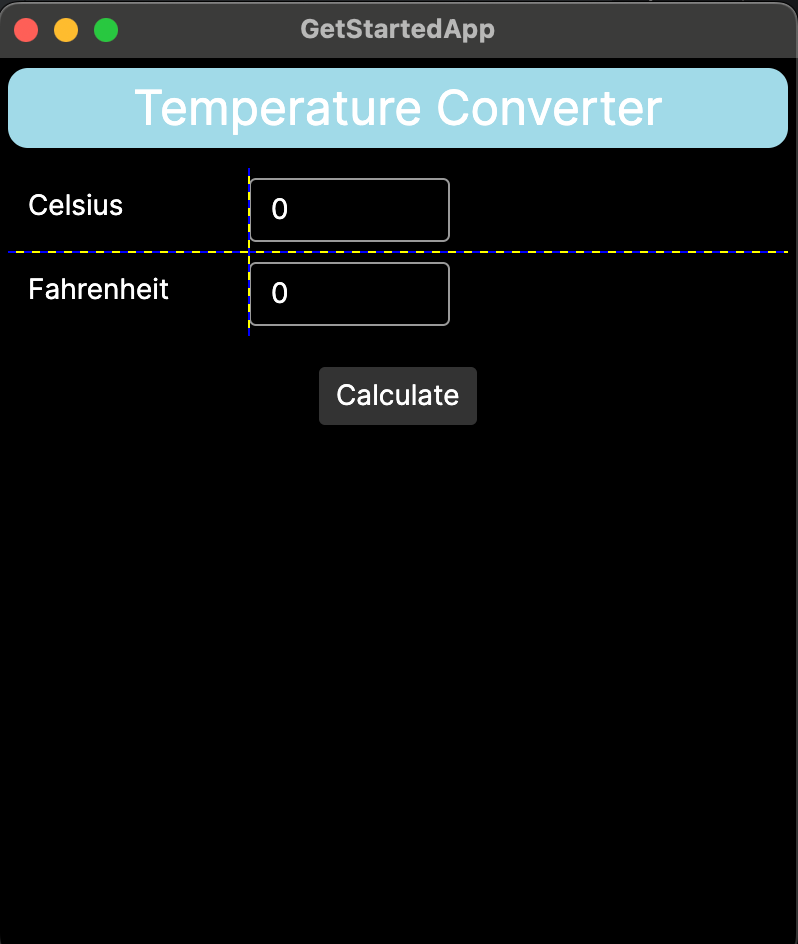
布局区域
Avalonia 窗口有四个布局区域:(1) 外边距(Margin)、(2) 边框(Border)、(3) 内边距(Padding)和 (4) 内容(Content)。
一些布局控件,如您之前使用的 StackPanel,会创建具有相同四个布局区域的较小子窗口。
备注
每个 Avalonia 窗口的内容区域只接受一个控件。

默认窗口属性
与控件一样,Avalonia 中的窗口具有定义其呈现和行为的 XML 属性。
滚动到文件 MainWindow.axaml 的顶部并检查 <Window> 开始标签。您可以看到它包含一些默认设置。
<Window xmlns="https://github.com/avaloniaui"
        xmlns:x="http://schemas.microsoft.com/winfx/2006/xaml"
        xmlns:vm="using:GetStartedApp.ViewModels"
        xmlns:d="http://schemas.microsoft.com/expression/blend/2008"
        xmlns:mc="http://schemas.openxmlformats.org/markup-compatibility/2006"
        mc:Ignorable="d" d:DesignWidth="800" d:DesignHeight="450"
        x:Class="GetStartedApp.Views.MainWindow"
        x:DataType="vm:MainWindowViewModel"
        Icon="/Assets/avalonia-logo.ico"
        Title="GetStartedApp">
备注
<Window> 标签的前几行声明了 Avalonia 使用的 XML 命名空间。我们使用命名空间别名 x、vm、d 和 mc。
设置窗口的属性
尝试调整窗口的尺寸,使其以纵向方向显示,而不是横向。这是您在开发应用程序时可能会做的事情,以检查它在移动设备上的外观。
设置预览器大小
调整 d:DesignWidth 和 d:DesignHeight 的值可以让您在实时预览器中更改应用程序的尺寸,而不会影响运行时窗口的实际尺寸。
- 在文件 MainWindow.axaml 中,在
<Window>...</Window>标签内找此行:
mc:Ignorable="d" d:DesignWidth="800" d:DesignHeight="450"
- 将
d:DesignWidth设置为 400。 - 观察预览器。您应该看到预览现在类似移动设备显示。
设置运行时窗口大小
要调整运行时应用程序窗口的尺寸,您需要在 <Window> 开始标签中添加 Width 和 Height 属性。
- 在文件 MainWindow.axaml 中,转到
<Window>开始标签的底部行:
Title="GetStartedApp">
- 在该行下方添加属性
Width="400"和Height="450"。记住将尖括号移动到末尾。
Title="GetStartedApp"
Width="400"
Height="450">
- 运行应用程序。您应该看到应用程序窗口现在类似移动设备显示。
备注
大多数移动平台实际上会忽略窗口大小,并自动调整窗口大小以适应屏幕。在开发时,您实际上不需要为每个目标平台设置单独的大小。
在本教程的下一页中,您将学习如何创建事件处理,以便按钮响应点击。