Running Avalonia on a Raspberry Pi
Required hardware
Flash 8GB SD Card with Raspbian Stretch (2018-11-13). balenaEtcher is a nice tool for that.
Plug in the card and start the Raspberry Pi.
You can follow the Raspbian and .NET Core setup guide. The next steps are summarized below.
Installing required packages
- Install
curl,libunwind8,gettextandapt-transport-https. Thecurlandapt-transport-httpsoften are up-to-date.
sudo apt-get install curl libunwind8 gettext apt-transport-https
- Download tar-ball.
curl -sSL -o dotnet.tar.gz https://dotnetcli.blob.core.windows.net/dotnet/Runtime/release/2.0.0/dotnet-runtime-latest-linux-arm.tar.gz
- Unpack tarball to
/opt/dotnet.
sudo mkdir -p /opt/dotnet && sudo tar zxf dotnet.tar.gz -C /opt/dotnet
- Link
dotnetbinary.
sudo ln -s /opt/dotnet/dotnet /usr/local/bin
Alternative: You can login as superuser (run "sudo su")
apt-get -y install curl libunwind8 gettext apt-transport-https
curl -sSL -o dotnet.tar.gz https://dotnetcli.blob.core.windows.net/dotnet/Runtime/release/2.0.0/dotnet-runtime-latest-linux-arm.tar.gz
mkdir -p /opt/dotnet && sudo tar zxf dotnet.tar.gz -C /opt/dotnet
ln -s /opt/dotnet/dotnet /usr/local/bin
Take care of line endings of the script. It should use LF instead of CR LF. Save the script as .sh file and run it on the Raspberry Pi with bash filename.sh.
Publishing the app
- To run an
Avaloniaapplication onRaspberry Piyou need to use this nuGet package:
It includes the libSkiaSharp.so.
- Now publish the app with the following command:
dotnet publish -r linux-arm -f netcoreapp2.0
- Copy publish directory to the
Raspberry Piand run it withdotnet publish/ApplicationName.dll
Running with Raspbian Lite
This tutorial shows you how to run your Avalonia app on a Raspberry Pi with Raspbian Lite via DRM.
Step 1 - Setup the Raspberry Pi
First step is to setup your Raspberry Pi.
Download the Raspbian lite operation system image.
You can download the Raspbian lite operating system image from the official Raspberry Pi website.
Link to Raspberry Pi Operating system images
Prepare Raspberry for flashing
The installation of Raspberry Lite is a bit different depending on the model.
Raspberry Pi 4 b
For the Pi 4 b you need a SD Card on which the operating system will be installed.
Insert the SD card into your computer.
You can now go directly to step 1.2.
Raspberry CM4
Since the CM4 is designed for embedded applications you still need an IO board. For this there is the official Compute Module 4 IO board or alternatively many other boards like the SourceKit PiTray mini.
To prepare the EMMC memory for mounting follow these steps.
Flashing the operating system
- Download the Etcher image writing utility and install it.
- Open Etcher and select from your hard drive the .zip file you downloaded in step 1.1.
- Select the mass storage (SD card or CM4 EMMC) you wish to write your image to.
- Review your selections and click 'Flash!' to begin writing data. Once flashing is complete, create a new empty file named ssh (with no extension, e.q with
touch ssh) in the boot drive of the Raspberry. This will ensure that the SSH daemon is enabled once the Raspberry Pi has started and you can logon over the network. - Only for Cm4 add the following to
/boot/config.txtto enable the Usb 2.0 ports
dtoverlay=dwc2,dr_mode=host
- Start up your Raspberry and login.
Raspberry Pi 4 b: Put the SD card into the Raspberry and plug in power supply
CM 4: On CM4 IO Board unplug the power supply, remove J2 jumper, plug in power supply again
Install missing libraries
Some libraries required to run an Avalonia app via DRM on raspbian lite:
sudo apt update
sudo apt upgrade
sudo reboot
sudo apt-get install libgbm1 libgl1-mesa-dri libegl1-mesa libinput10
Verify DRM (optional)
You can test your installation with a simple but useful tool called kmscube.
sudo apt-get install kmscube
sudo kmscube
You should see the spinning cube on your Raspberry pi screen now:\
Step 2 - Prepare Avalonia app
#### Create new Avalonia App (Core or MVVM App) We called it AvaloniaRaspbianLiteDrm in this tutorial.
Add package Avalonia.LinuxFrameBuffer
dotnet add package Avalonia.LinuxFramebuffer
2.3 Create MainView
When running via FrameBuffer there are no windows, so you need a separate view (UserControl) which will be our toplevel control. This view is the counterpart to the normal window.
MainView will be our app base in which we develop our UI:
<UserControl xmlns="https://github.com/avaloniaui"
xmlns:x="http://schemas.microsoft.com/winfx/2006/xaml"
xmlns:d="http://schemas.microsoft.com/expression/blend/2008"
xmlns:mc="http://schemas.openxmlformats.org/markup-compatibility/2006"
mc:Ignorable="d"
d:DesignWidth="800"
d:DesignHeight="450"
x:Class="AvaloniaRaspbianLiteDrm.MainView">
<StackPanel HorizontalAlignment="Center"
VerticalAlignment="Center"
Margin="30"
Spacing="30">
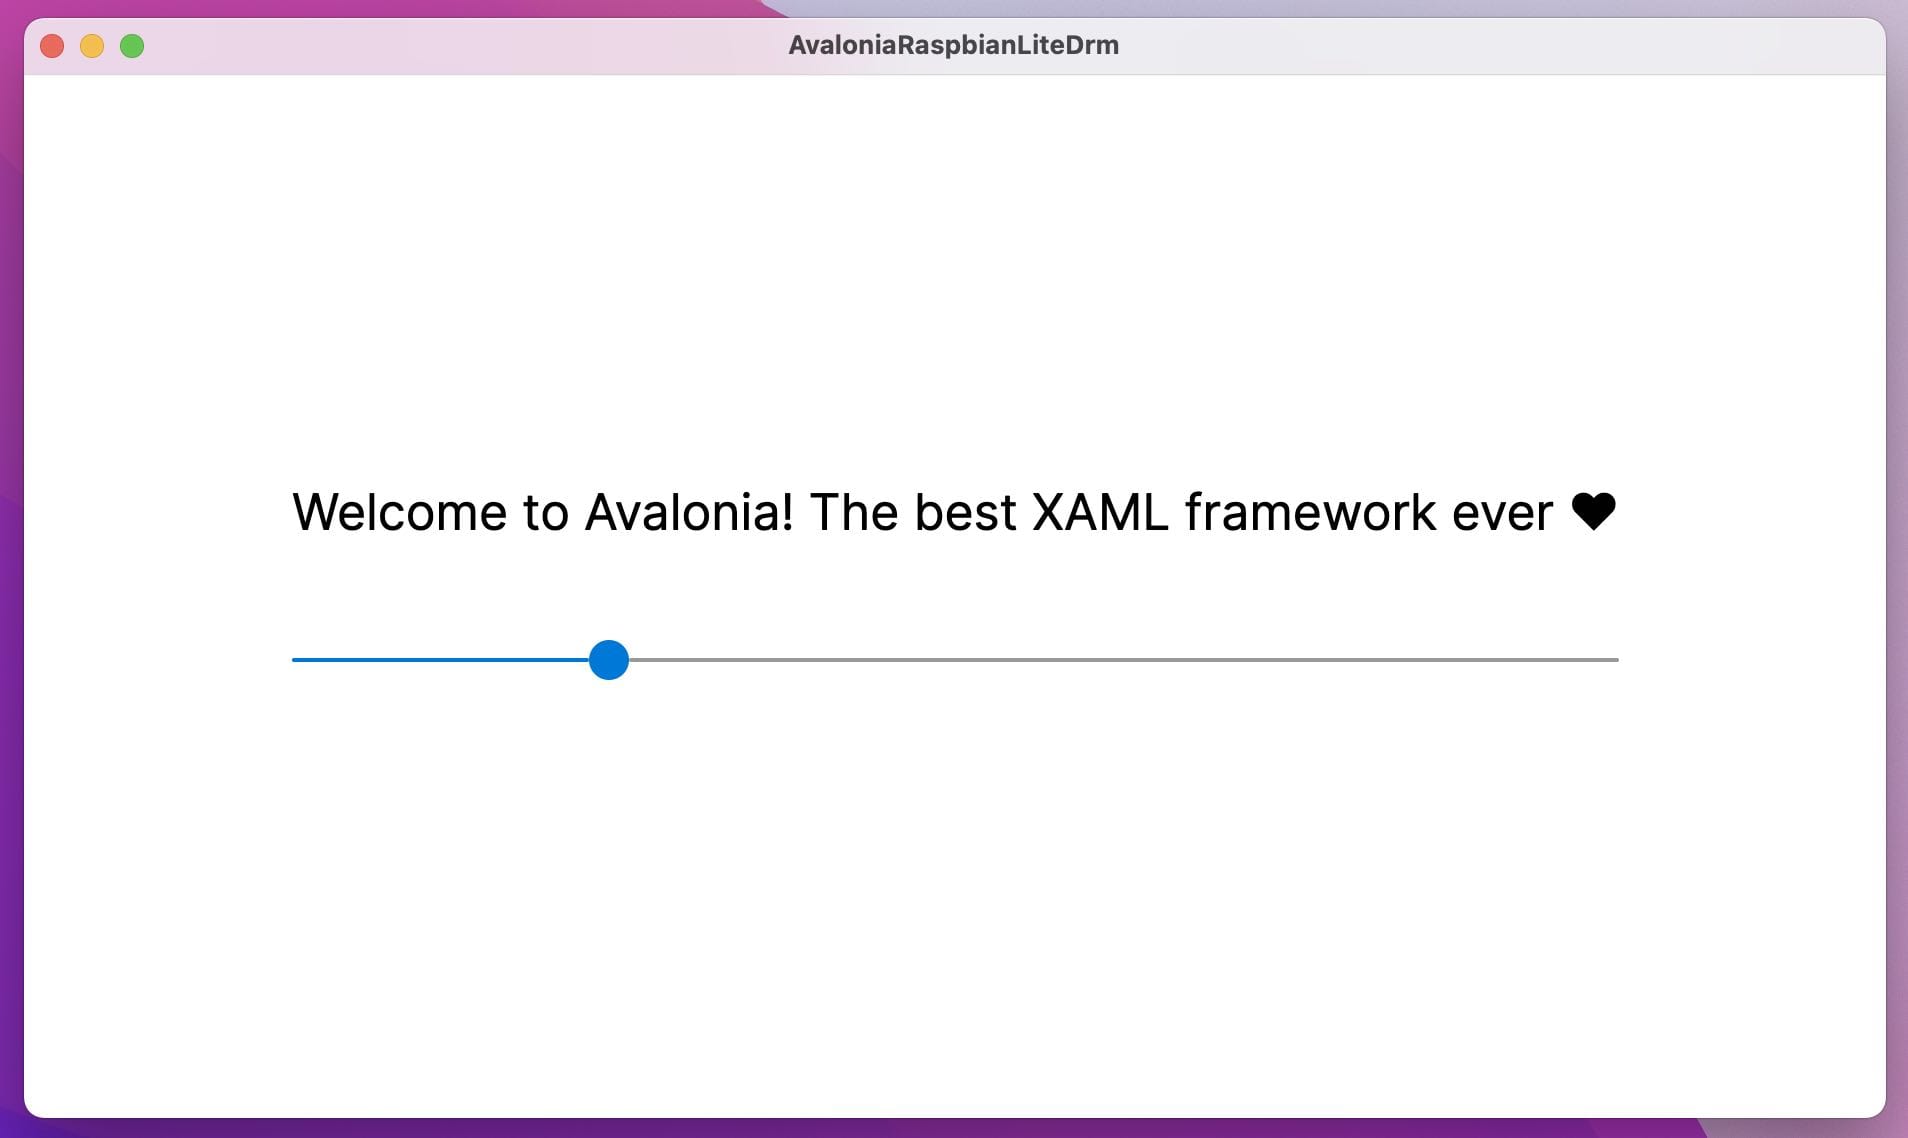
<TextBlock FontSize="25">
Welcome to Avalonia! The best XAML framework ever ♥
</TextBlock>
<Slider />
</StackPanel>
</UserControl>
Now create a new UserControl with name MainSingleView and host the MainView:
<UserControl xmlns="https://github.com/avaloniaui"
             xmlns:x="http://schemas.microsoft.com/winfx/2006/xaml"
             xmlns:d="http://schemas.microsoft.com/expression/blend/2008"
             xmlns:mc="http://schemas.openxmlformats.org/markup-compatibility/2006"
             xmlns:avaloniaRaspbianLiteDrm="clr-namespace:AvaloniaRaspbianLiteDrm"
             mc:Ignorable="d"
             d:DesignWidth="800"
             d:DesignHeight="450"
             x:Class="AvaloniaRaspbianLiteDrm.MainSingleView">
    <avaloniaRaspbianLiteDrm:MainView />
</UserControl>
Also change the MainWindow.axaml to host the MainView inside:
<Window xmlns="https://github.com/avaloniaui"
        xmlns:x="http://schemas.microsoft.com/winfx/2006/xaml"
        xmlns:d="http://schemas.microsoft.com/expression/blend/2008"
        xmlns:mc="http://schemas.openxmlformats.org/markup-compatibility/2006"
        xmlns:avaloniaRaspbianLiteDrm="clr-namespace:AvaloniaRaspbianLiteDrm"
        mc:Ignorable="d"
        d:DesignWidth="800"
        d:DesignHeight="450"
        x:Class="AvaloniaRaspbianLiteDrm.MainWindow"
        Title="AvaloniaRaspbianLiteDrm">
    <avaloniaRaspbianLiteDrm:MainView />
</Window>
The MainView is hosted in both MainSingleView and MainWindow. This makes it easier during development to run the app on desktop and on the Raspberry Pi.
Prepare Program.cs
Next, prepare the Program.cs to enable the DRM usage.
Change the Main void to the following:
public static int Main(string[] args)
{
    var builder = BuildAvaloniaApp();
    if (args.Contains("--drm"))
    {
        SilenceConsole();
        // By default, Avalonia will try to detect output card automatically.
        // But you can specify one, for example "/dev/dri/card1".
        return builder.StartLinuxDrm(args, card: null, options: new DrmOutputOptions
        {
            Scaling = 1.0,
        });
    }

    return builder.StartWithClassicDesktopLifetime(args);
}

private static void SilenceConsole()
{
    new Thread(() =>
        {
            Console.CursorVisible = false;
            while (true)
                Console.ReadKey(true);
        })
        { IsBackground = true }.Start();
}
SilenceConsole() captures the console input and hides it. Otherwise the console cursor blinks on the screen.
2.4 Prepare App.axaml.cs
Next, set the MainView for the ISingleViewApplicationLifetime for DRM usage.
Change the OnFrameworkInitializationCompleted() in App.axaml.cs:
public override void OnFrameworkInitializationCompleted()
{
    if (ApplicationLifetime is IClassicDesktopStyleApplicationLifetime desktop)
        desktop.MainWindow = new MainWindow();
    else if (ApplicationLifetime is ISingleViewApplicationLifetime singleView)
        singleView.MainView = new MainSingleView();

    base.OnFrameworkInitializationCompleted();
}
Run and test on desktop
Now you can run/debug your app on desktop as usual.
When you start your app you should see this:\
Step 3 - Deploy and run on Raspberry
Publish app
dotnet publish -c Release -o publish -r linux-arm -p:PublishReadyToRun=true -p:PublishSingleFile=true -p:PublishTrimmed=true --self-contained true -p:IncludeNativeLibrariesForSelfExtract=true
Copy app to Raspberry
Copy the files from /publish directory of your project to your Raspberry.
You can do this via scp <source> <destination> or use a app like CyberDuck or via Usb stick.
Run app on Raspberry
First we need to change the permission to executable.
sudo chmod +x /path/to/app/AvaloniaRaspbianLiteDrm
Now you can run the app with the following:
sudo ./path/to/app/AvaloniaRaspbianLiteDrm --drm
You should see the app running on your Raspberry Pi now:

If you have a touch display installed, try to slide the slider control.