iOS
Setting up your developer environment
Prerequisites
On a Mac you will need to have the latest version of macOS and Xcode installed.
Install the SDK
First it is very important to install the correct dotnet SDK. At the time of writing, the lowest sdk version that works is 6.0.200.
Install the workload
dotnet workload install ios
You may need to run the command with sudo
You may also need to uninstall old versions. dotnet workload remove ios
This will allow you to build applications for iOS on any platform. However you will only be able to test and run them if you have access to actual macOS hardware with Xcode installed.
Provisioning a device with Xcode
To deploy to a physical iPhone or iPad, you must first provision your device using Xcode. This creates a signing certificate and associates your device with a development provisioning profile.
Before continuing, follow this guide to create a free Apple developer signing certificate.
You need to create an Xcode app project that has the same bundle identifier that you will use in your Avalonia application.
- Open Xcode
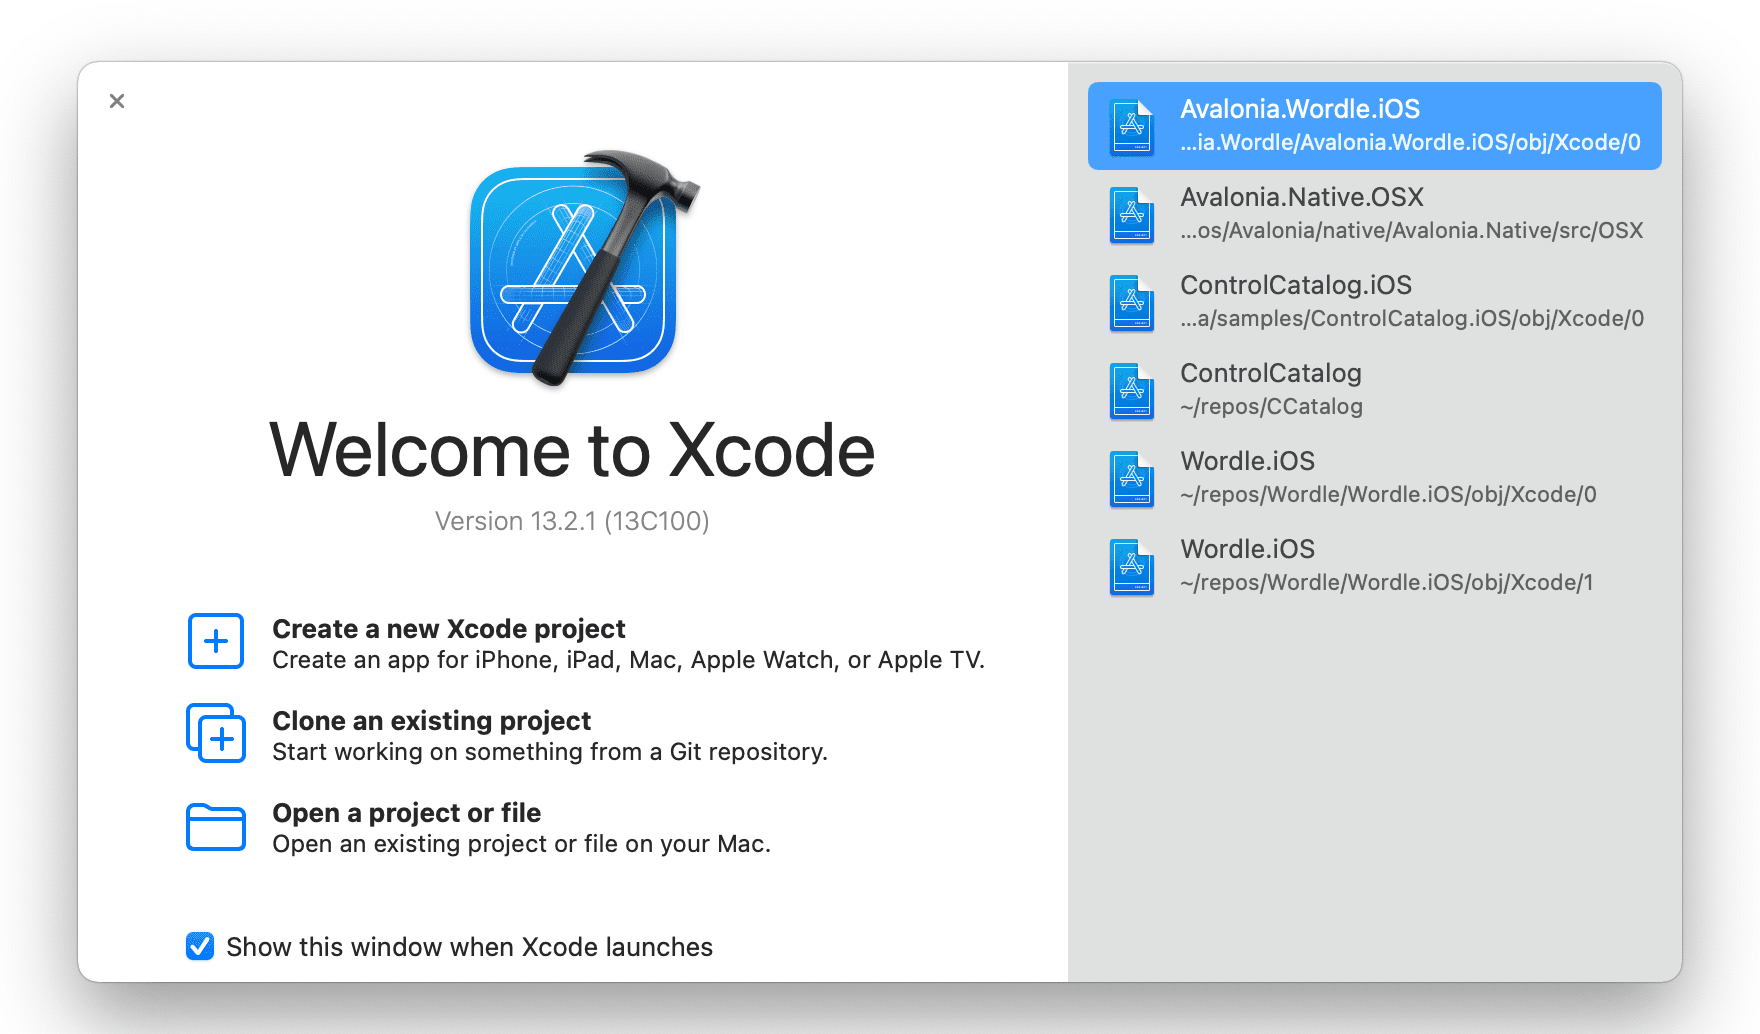
- Select Create a new Xcode project
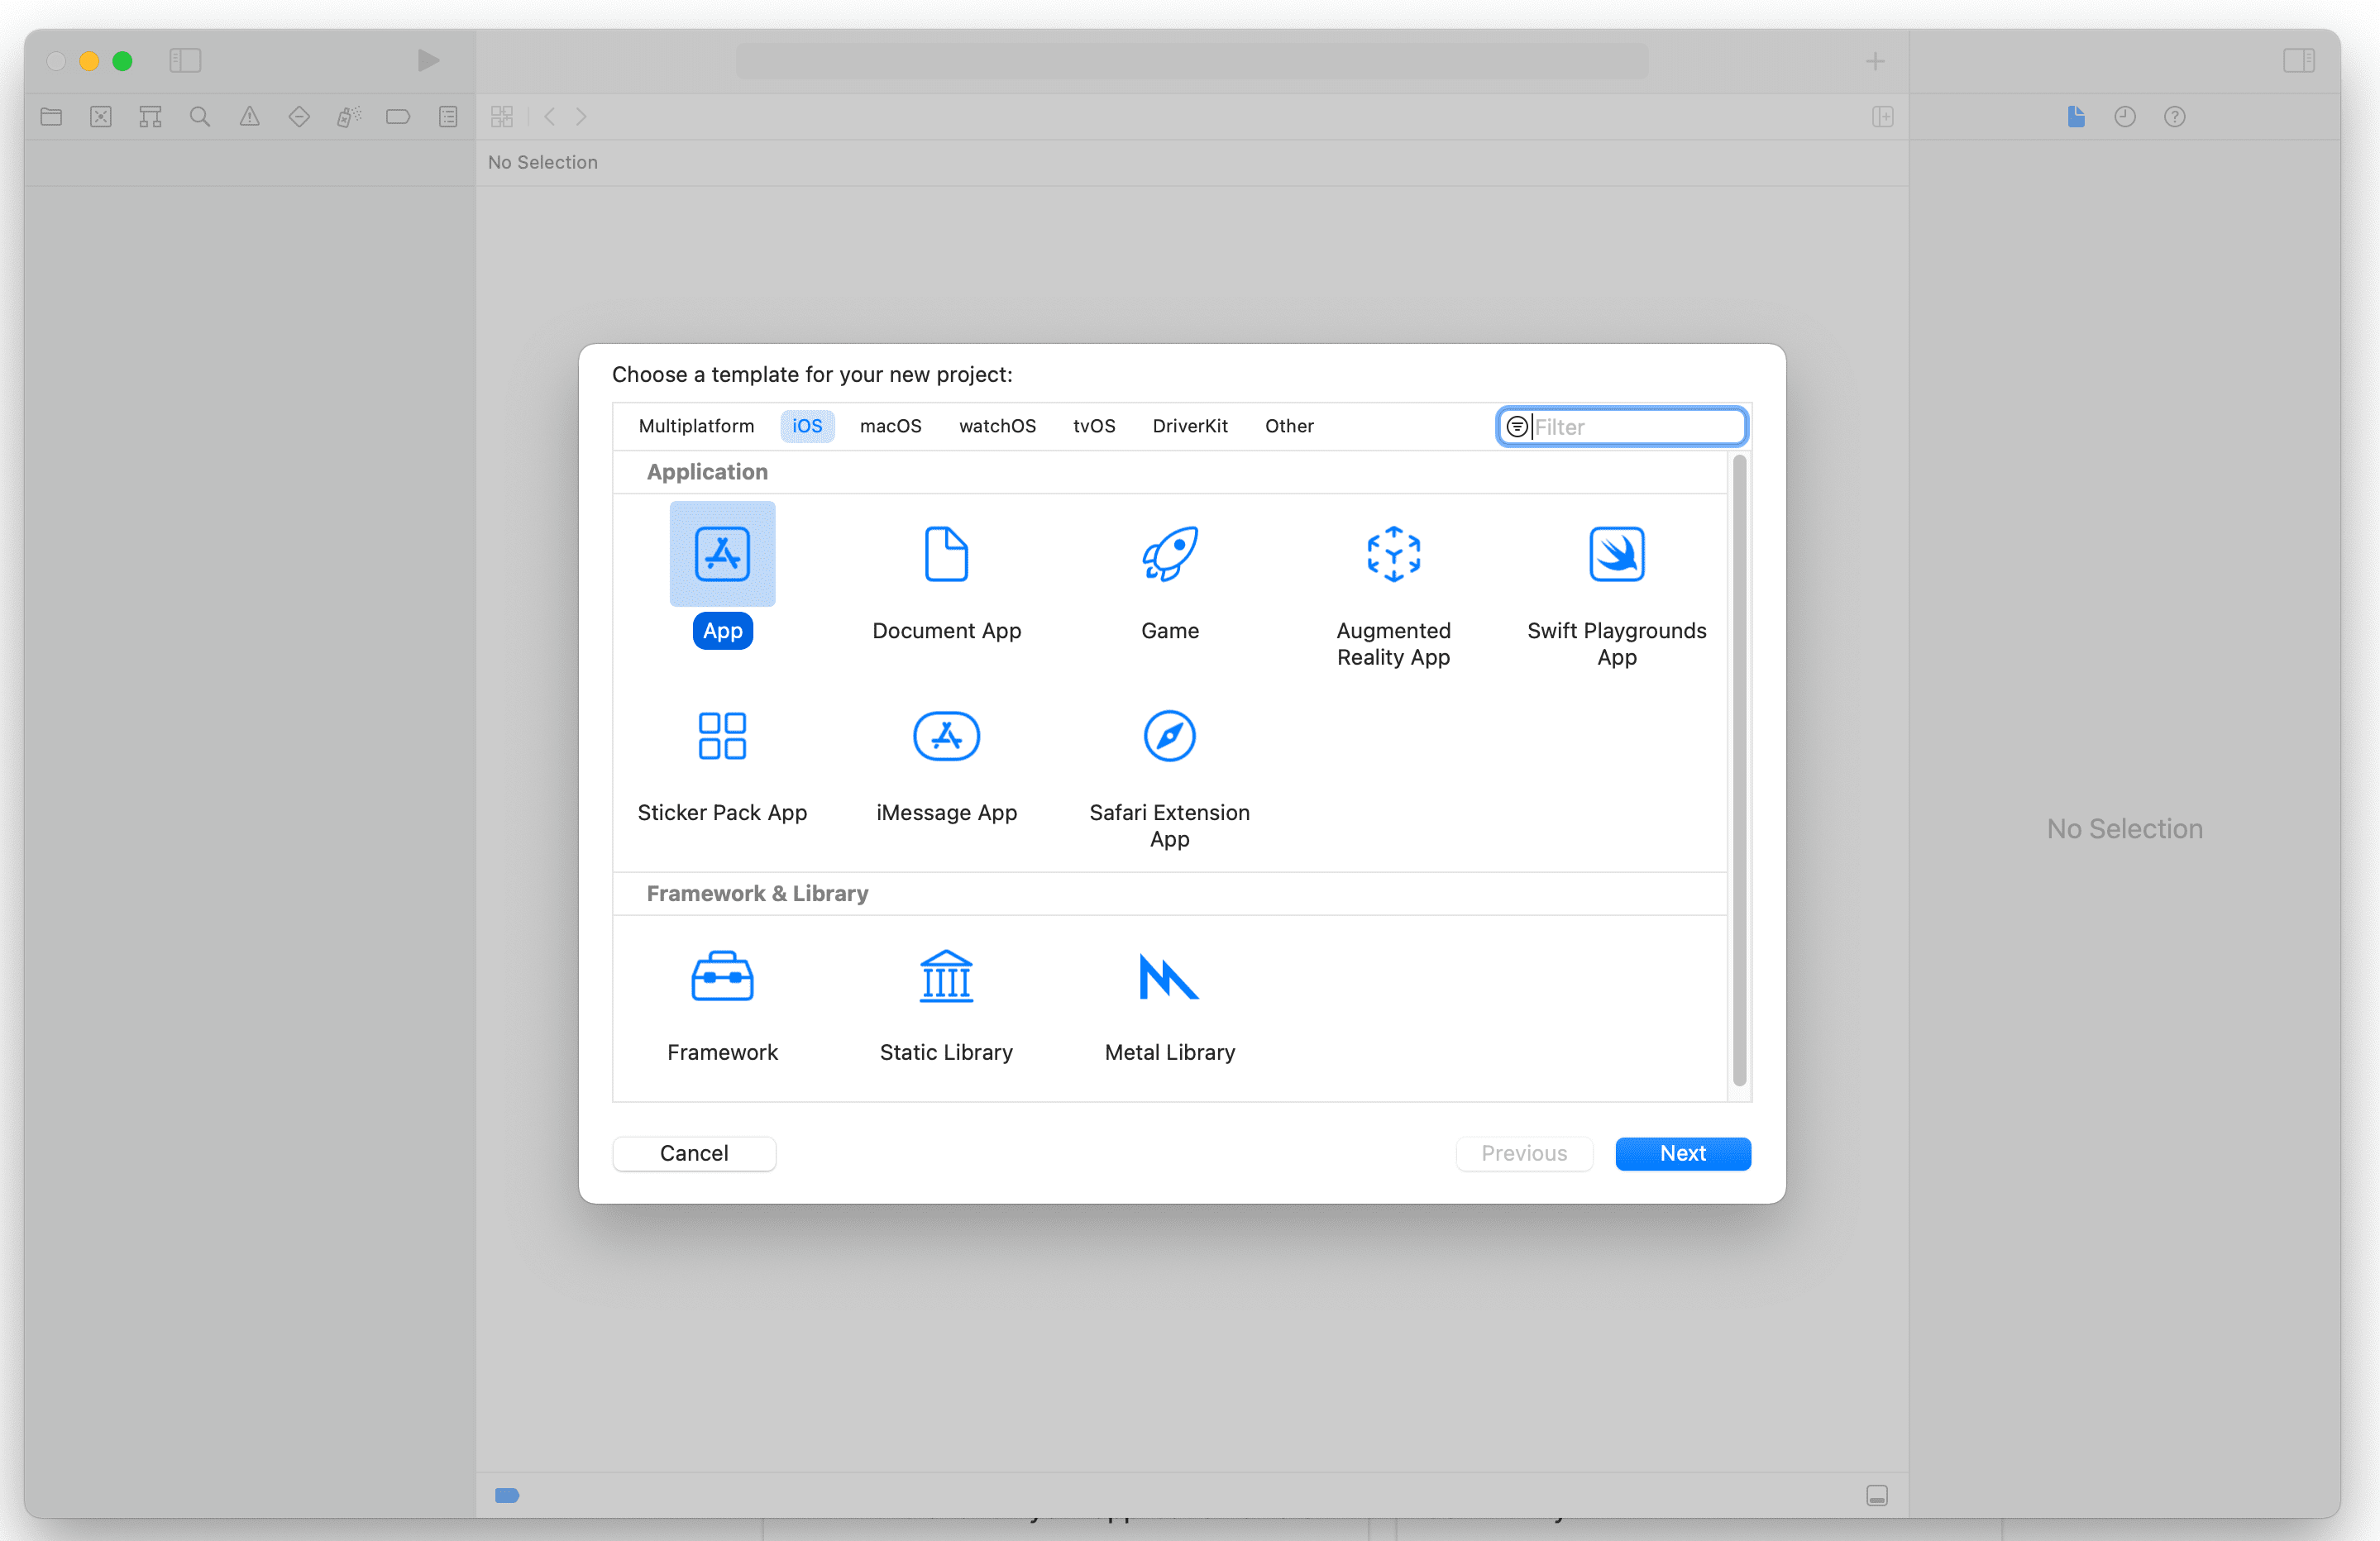
- Select iOS and App and click Next.
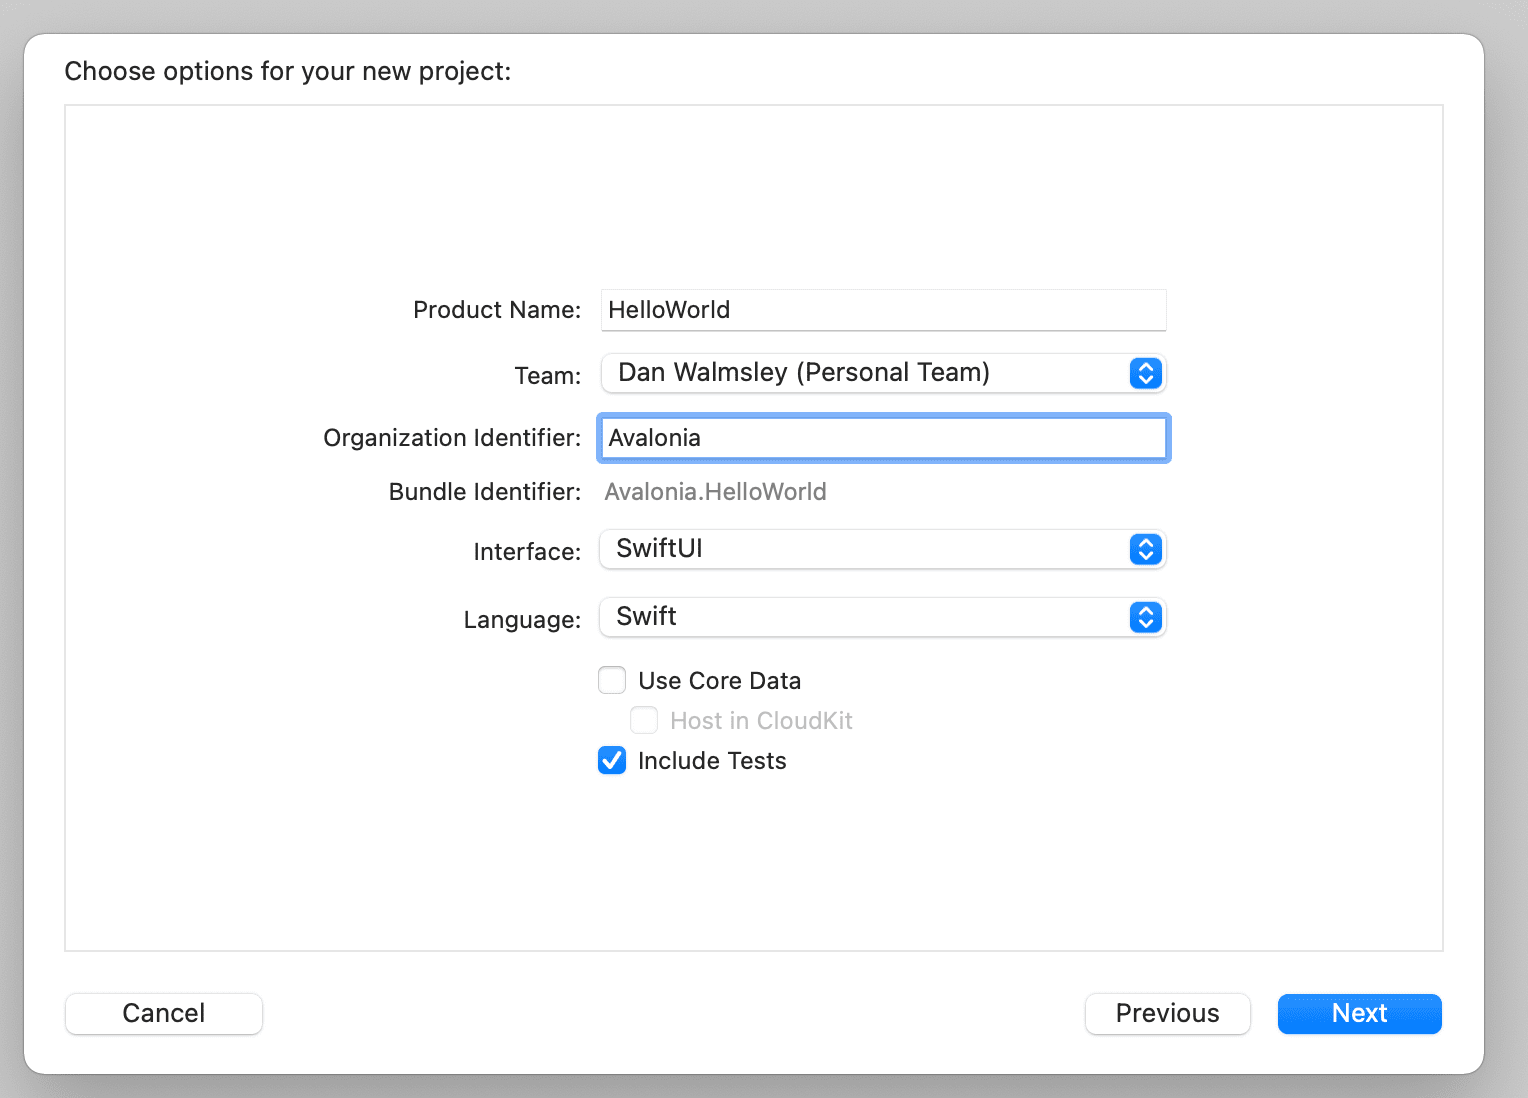
-
Type in a name for your project and Organisation. Keep all the rest of the information the same.
-
Choose a directory to save the project. You will not need to keep the project so don't worry too much about where.
-
In the status bar at the top click on the "Any device (arm64)"

- At the bottom of the list click "Add Additional Simulators..."
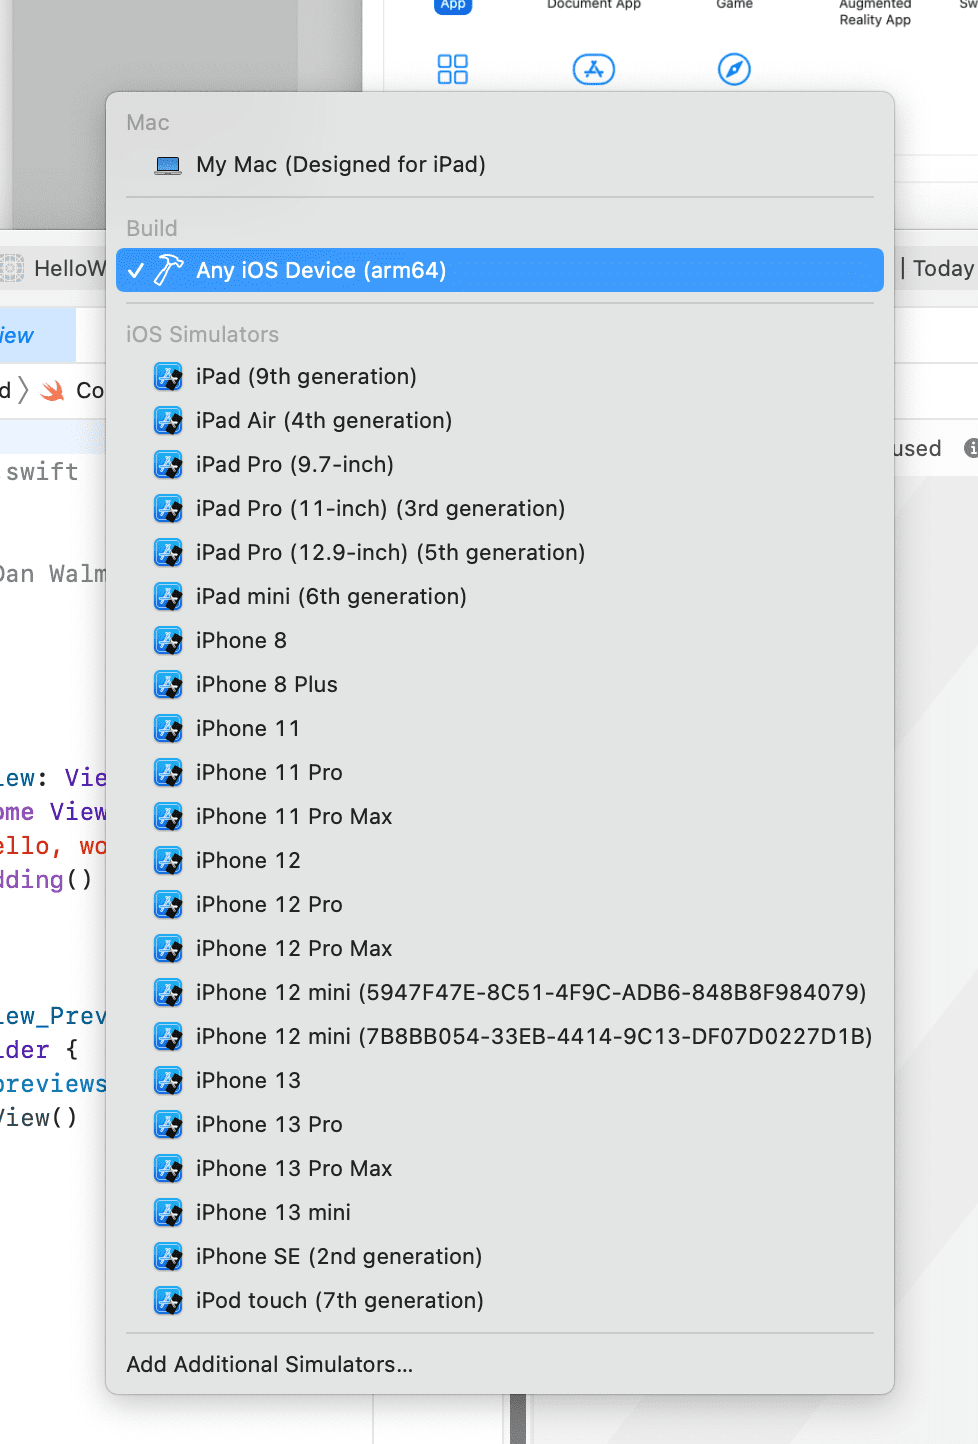
- Click on devices and connect your iPhone or iPad with the USB cable. Xcode will start to provision your phone for development.
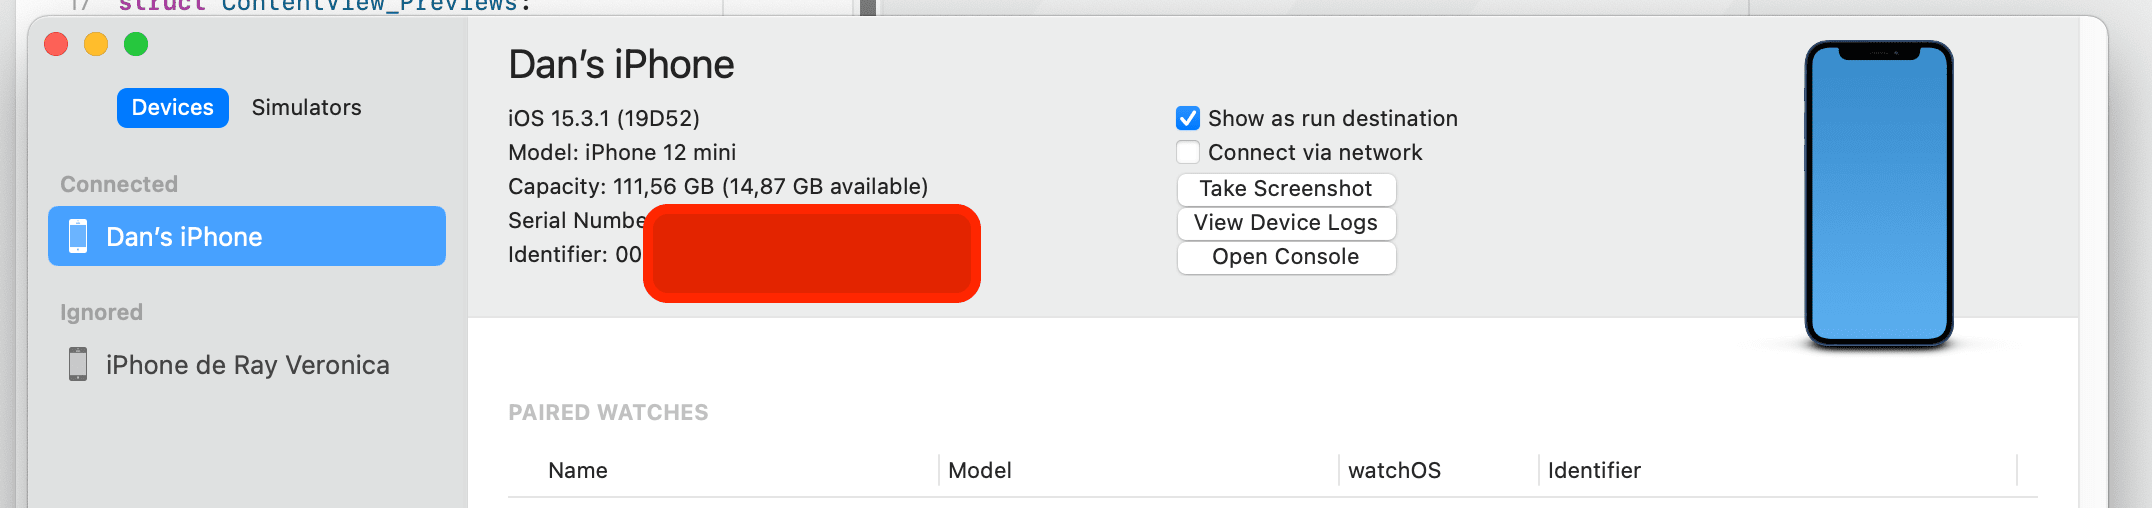
- Select your iPhone or iPad from the device list.

- Click the play button and the app will be installed and run on your phone.
If successful, your device is now provisioned for development. To find your code signing key, open the Keychain Access application and search for "development".
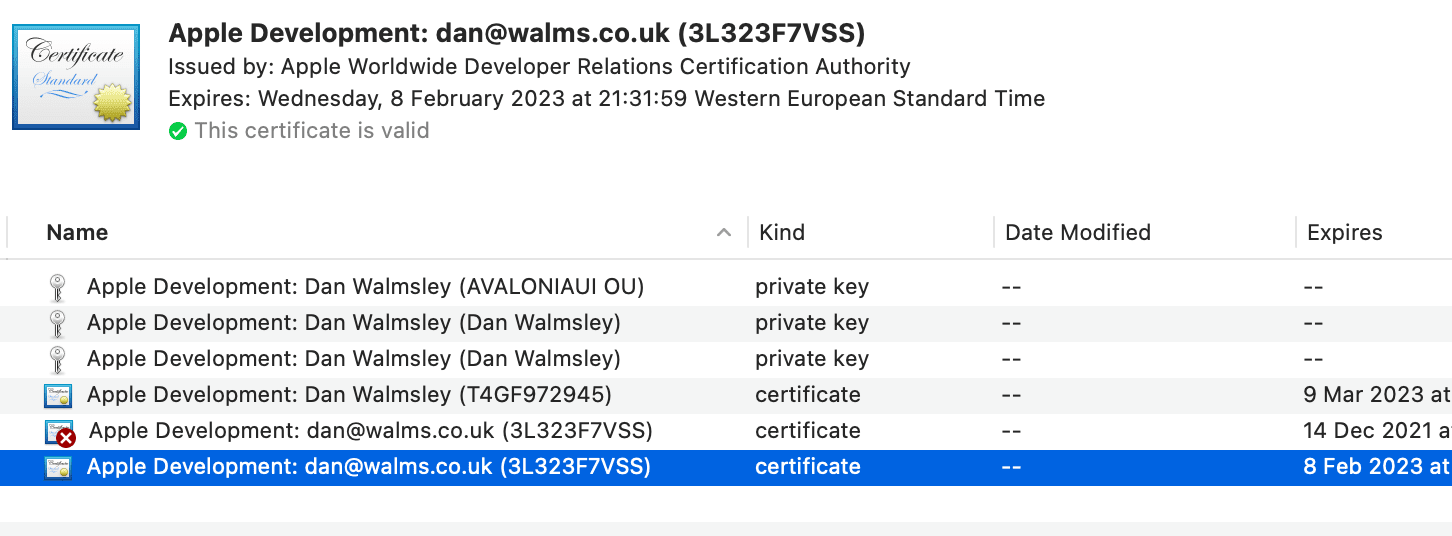
The bold text at the top of the window on your selected development certificate is your signing key value (e.g., Apple Development: [email protected] (3L323F7VSS)).
Mac Catalyst
Mac Catalyst allows you to run your Avalonia iOS app on macOS without writing a separate macOS project. This is useful when your app relies heavily on UIKit APIs or when you want to embed Avalonia inside a MAUI hybrid application (which uses Catalyst for desktop support on macOS).
For native macOS development, Avalonia's AppKit-based backend remains the recommended approach. It provides direct access to macOS windowing, Metal rendering, and native menus without the Catalyst translation layer. See the macOS platform guide for details.
Setting up Mac Catalyst
- Install the Mac Catalyst workload:
dotnet workload install maccatalyst
- Add
net10.0-maccatalystto the target frameworks in your iOS project:
<PropertyGroup>
    <TargetFrameworks>net10.0-ios;net10.0-maccatalyst</TargetFrameworks>
</PropertyGroup>
- Build and run targeting Mac Catalyst:
dotnet build -f net10.0-maccatalyst
dotnet run -f net10.0-maccatalyst
The app runs as a native macOS application using Apple's Catalyst translation layer. It appears in the Dock, supports macOS window management, and can be distributed through the Mac App Store.
When to use Mac Catalyst vs. the default macOS backend
For most Avalonia apps, the default macOS backend (Avalonia Native) is the better choice. It uses a lightweight native library (libAvaloniaNative.dylib) that provides windowing, input, rendering, menus, and accessibility without depending on the .NET macOS or Catalyst workloads. This means you can build, package, and sign your macOS app from Windows or Linux with no Mac required during development. See How Avalonia runs on macOS for details.
Mac Catalyst is a narrower option for specific scenarios: apps that are deeply tied to UIKit APIs, or apps embedded within a MAUI hybrid project (which uses Catalyst for its macOS target). In those cases, Catalyst lets you reuse your iOS project directly rather than maintaining a separate macOS entry point.
| Consideration | Default macOS backend | Mac Catalyst |
|---|---|---|
| Build from Windows or Linux | Yes | No (requires macOS) |
| .NET workload required | None (net10.0 is sufficient) | maccatalyst workload |
| Native API surface | Minimal (UI essentials only) | UIKit subset via Catalyst translation |
| Shares project with iOS | No (separate Desktop project) | Yes (same iOS project) |
| MAUI hybrid embedding | No | Yes |
| Recommended for new Avalonia apps | Yes | No |
Deep linking and universal links
iOS supports two mechanisms for opening your app from a URL:
Custom URL schemes
Register a custom URL scheme (e.g., myapp://) by adding CFBundleURLTypes to your Info.plist:
<key>CFBundleURLTypes</key>
<array>
    <dict>
        <key>CFBundleURLName</key>
        <string>MyApp</string>
        <key>CFBundleURLSchemes</key>
        <array>
            <string>myapp</string>
        </array>
    </dict>
</array>
Universal links
Universal links associate your app with a web domain, allowing standard https:// URLs to open your app directly. To configure them:
- Add the Associated Domains entitlement to your app. Create or update your
Entitlements.plist:<key>com.apple.developer.associated-domains</key>
<array>
<string>applinks:example.com</string>
</array> - Host an
apple-app-site-associationfile on your web server athttps://example.com/.well-known/apple-app-site-association.
Handling activation
Both custom URL schemes and universal links raise the Activated event on IActivatableLifetime with ActivationKind.OpenUri:
if (Application.Current.TryGetFeature<IActivatableLifetime>() is { } activatableLifetime)
{
    activatableLifetime.Activated += (s, a) =>
    {
        if (a is ProtocolActivatedEventArgs protocolArgs
            && protocolArgs.Kind == ActivationKind.OpenUri)
        {
            // Handle the URI
            var uri = protocolArgs.Uri;
        }
    };
}
This works with the scene-based lifecycle used in Avalonia 12. See Activatable Lifetime for the full API reference.
See also
- Deploying on iOS (simulator, device, and publishing)
- macOS platform guide (native AppKit backend)
- Activatable Lifetime for handling URI, file, and background activation